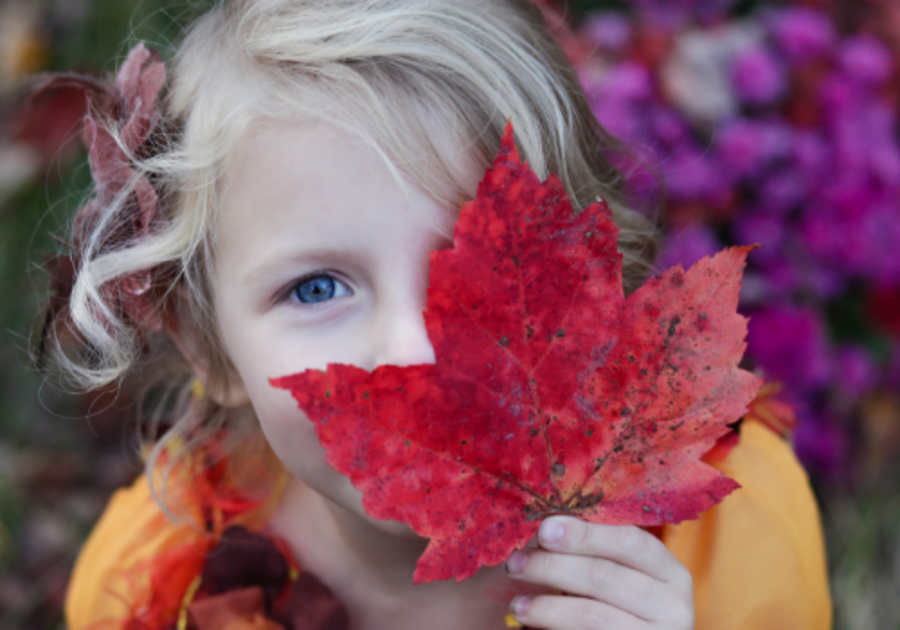
There’s a crisp cool breeze outdoors and the streets and sidewalks are littered with beautifully colored leaves. Autumn has arrived, and with it the excitement of one of our favorite holidays. Here are some fun and festive activities that will delight your child’s sense of touch and enhance their fine motor coordination in the process.
These projects can get a bit messy, so make sure to wear a smock and put a washable cloth/mat on your workspace (a garbage bag back works in a pinch, or a cardboard box).
 Rachel McMinn |
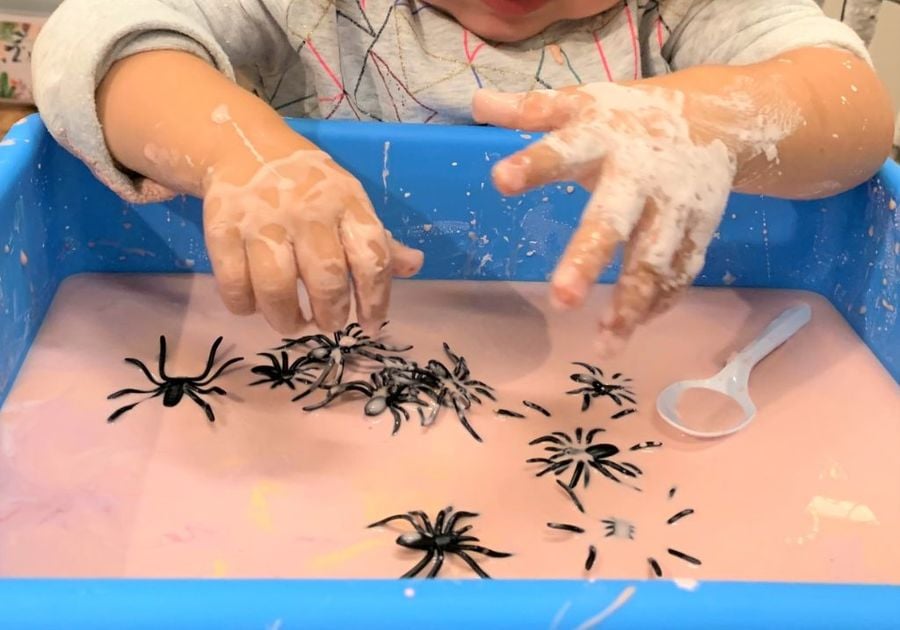
Orange Oobleck with Spiders
Materials needed:
- 2 cups cornstarch
- 1 cup water
- About 3 - 5 drops of food coloring (orange, purple or black work great)
- Plastic spiders (or use any other small plastic toys of your choice)
Directions:
1. Combine the cornstarch, water, and food coloring. It should be hard to stir – Oobleck (the name of which, interestingly enough, is now trademarked but seems to have originated from a 1940s Dr. Seuss book called Bartholomew and the Oobleck) is a non-Newtonian fluid that rapidly moves between solid and liquid. The warmth of your hands and fingers melts the Oobleck and makes it appear runny, otherwise, it’s solid and hard to the touch! I always prefer to use my hands to mix the Oobleck so I can tell if it’s too dry or too runny and add either more water or more cornstarch to even things out.
2. Once you have the proper consistency (it’s oozy and gloopy and drips easily from your warm hands, but can also be picked up and rolled in a ball before melting), add in your spiders or other fun toys and let your child explore!
3. A great item to add to this play is a colander or plastic fruit basket that the Oobleck can ooze and dribble through!
Don’t let the mess intimidate you, it’s very easy to sweep and clean the Oobleck. Once it dries, it’s back to the powdery cornstarch consistency.
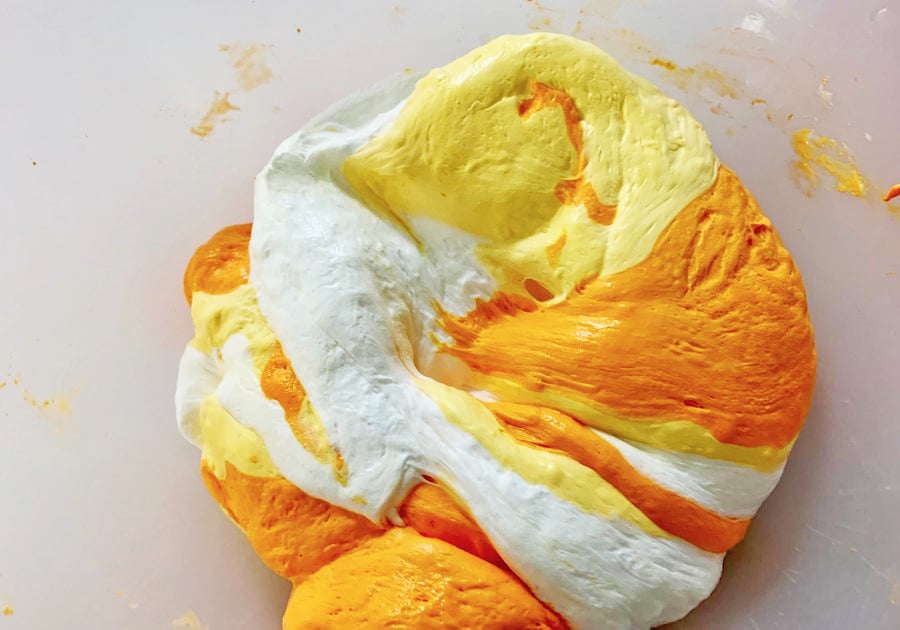 |
Puffy Candy Corn Slime
Materials Needed:
- 1/2 cup white glue
- 3-4 cups unscented shaving cream
- Yellow food coloring
- 1/4 tsp baking soda
- 1 Tbsp saline solution
Directions:
- Combine 1/2 cup white glue and 3 to 4 cups shaving cream in a large bowl. Mix well. Add a few drops of yellow food coloring. Stir to mix in the color.
- Stir in 1/4 tsp baking soda.
- Add 1 Tbsp. contact solution a little at a time while mixing. Keep adding the contact solution and mix until the slime becomes a ball and is less sticky. If it is too sticky, add a tiny bit of contact solution at a time until it isn't sticky.
- Repeat these steps using the orange food coloring, and a final batch without food coloring for white.
- Combine the three different colored batches of slime together for some candy corn-colored fun.
 Rachel McMinn |
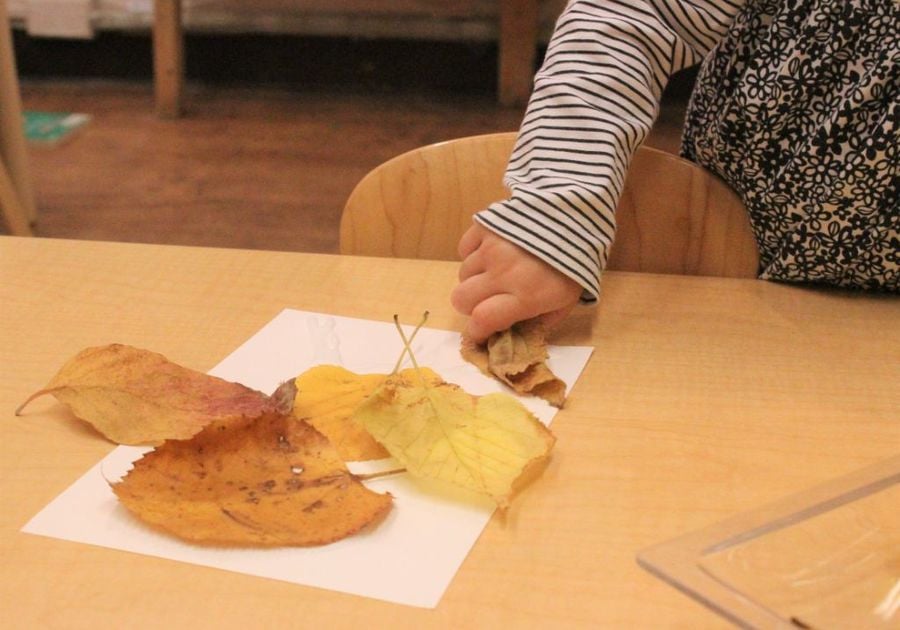
Leaf People Project
Materials needed:
- Collected leaves, acorns, small stones, sticks, etc.
- Elmer’s glue
- Cardboard or thick cardstock
Directions:
1. After completing a nature hunt outside to gather materials for this project, bring everything inside and get ready to turn your leaves into people!
2. Let your child explore the materials in an open-ended way. You can point out texture, color, how the item feels, and how it compares in size to the other materials you’ve collected. Once your child is ready, you can instruct them to select different body parts – head, eyes, nose, hair/hat, mouth, ears, body, arms, legs, and whatever else they think to add.
3. Help your child glue the leaves onto the cardstock to create your leaf people!
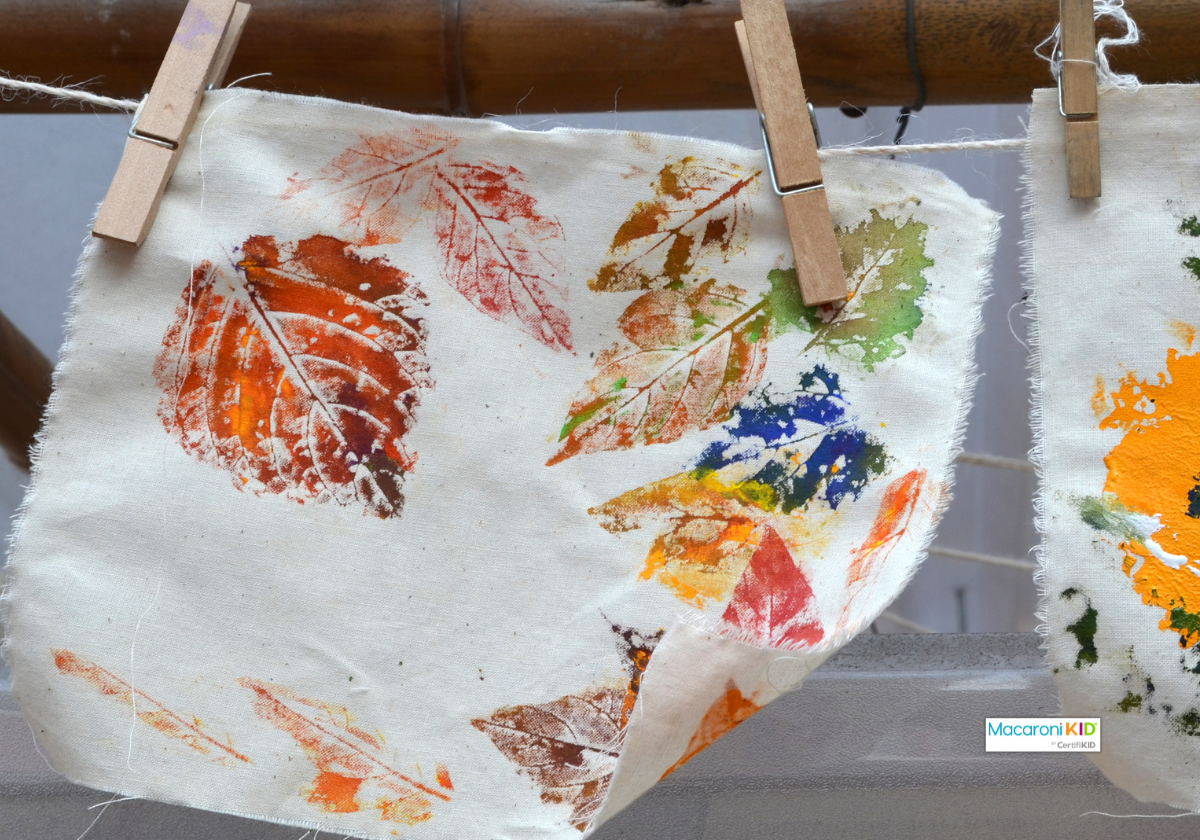 |
Leaf Rubbings
This craft — my kids' favorite — is both art and science, as kids get an up-close look at what makes up a leaf. Leaves with raised veins or texture work best.
Materials needed:
- Fall leaves
- Large piece of white paper (parchment or tracing paper work best)
- Assorted colored crayons (with the wrapper peeled off)
- Watercolor paint
- Cup of water
- Paintbrush
Directions:
- Collect leaves from outside.
- Place leaves under your paper.
- Using the crayons, slowly rub over the top of the paper to reveal the outline and details of the leaf. We like to use a different color for each leaf!
- Cover the whole paper with leaf rubbings.
- When you're done fill all the leftover white areas with your watercolor paint.
 |
Gratitude Tree
Creating a family gratitude tree is not only a wonderful way to foster gratitude and involve everyone, including the kids, in the holiday spirit, but it's also super easy to do, and it looks beautiful too!
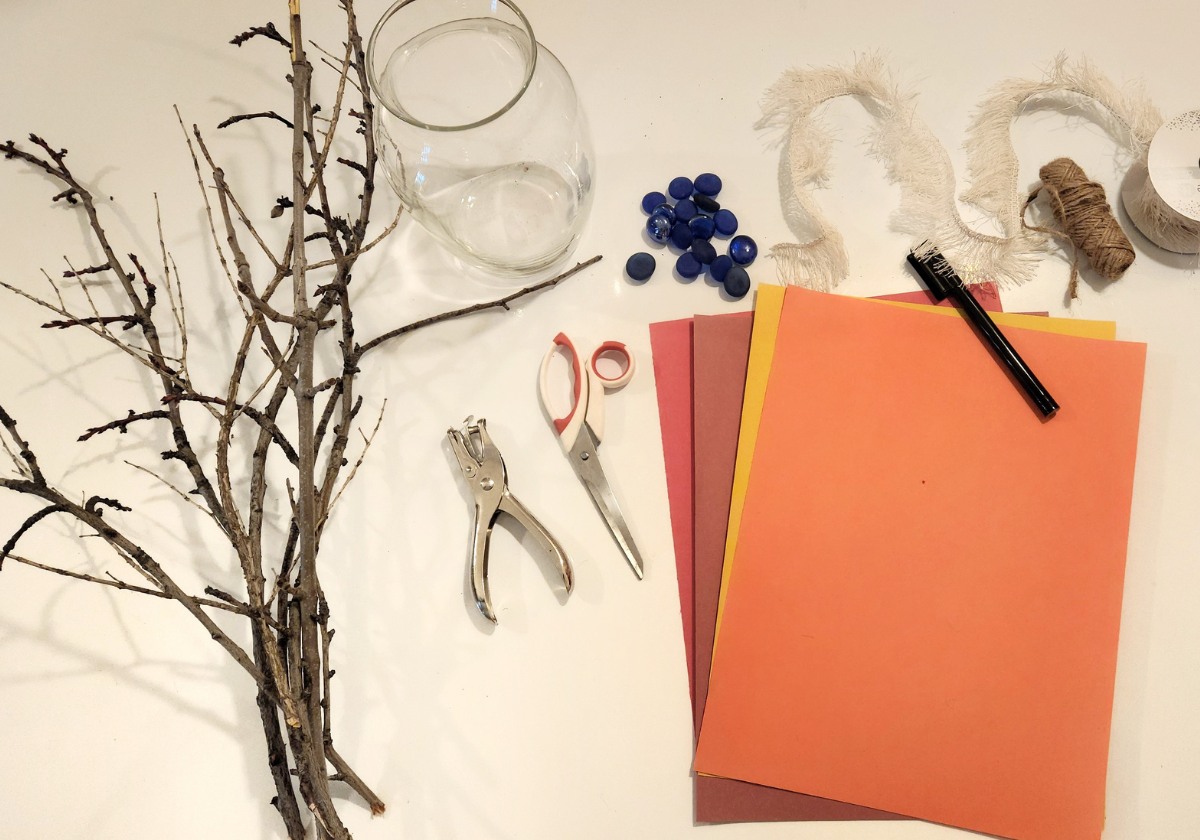
Materials Needed:
- One or more sturdy small branches with several smaller twigs or branches (for hanging gratitude leaves.)
- A vase or container
- Sand, rocks or decorative stone (Something to keep your branch in place in the container)
- Construction paper in fall-themed colors like red, orange, yellow, and brown
- Scissors
- Markers or pens
- String or ribbon
- Paper hole punch
- Optional: Paint
Directions:
- Prepare branches by trimming to the desired size and shape, making sure to keep extra branches on to hang your gratitude leaves. Optional: Let your kids decorate or paint the branch to make it more festive!
- Place the branch in the vase or container, using sand, rocks, or decorative stones to hold it in place.
- Create your gratitude leaves. Start by cutting out leaf shapes from the construction paper -- a good project for kids! Use a paper hole punch for ribbon or string. Tie a small loop of ribbon or string to the leaf so that it can be hung on the tree once complete. Place the leaves in a bowl on the table next to your "tree."
- Encourage kids and other family members to write down things they are thankful for on the leaves and then hang their gratitude leaves on the "tree."
You can place your family gratitude tree anywhere of course -- we love the idea of using it as a centerpiece to create opportunities during the meal to help spur meaningful conversations about gratitude.

